Step 3: Connect the MCP connectors
An MCP connector makes the tools of a different system available to the AI. Without a connector, the AI works with the content of the conversation only.
The following requirements are met:
- ☑ Step 2 is complete, see Have a first conversation.
Proceed as follows to connect an MCP connector:
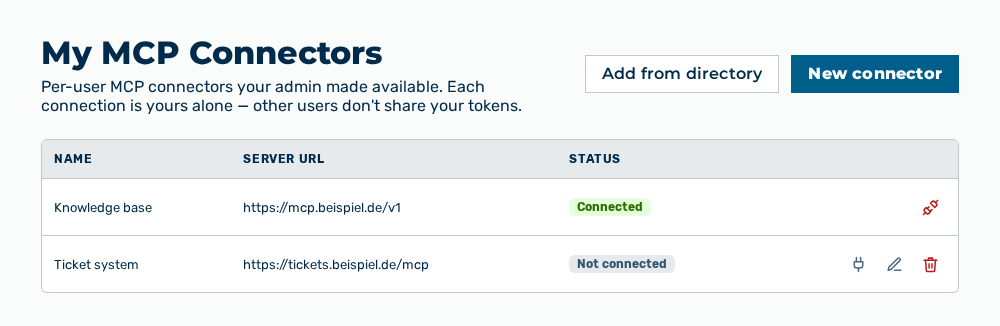
My MCP Connectors view
-
► In the Settings area, open the Connections group.
- ▷ On the start page, click on your name at the bottom of the navigation bar.
- ↳ The user menu opens.
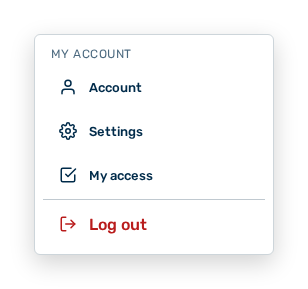
User menu
- ▷ In the My Account group, click on the Settings entry.
- ↳ The navigation bar shows the Settings area.
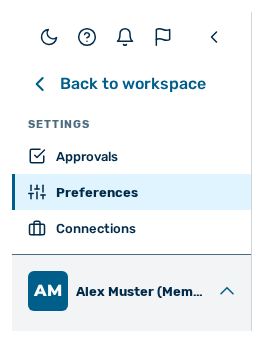
Navigation bar in the Settings area
- ▷ In the navigation bar, click on the Connections group.
- ► Click on the New connector button.
- ↳ The New MCP Connector dialog opens.
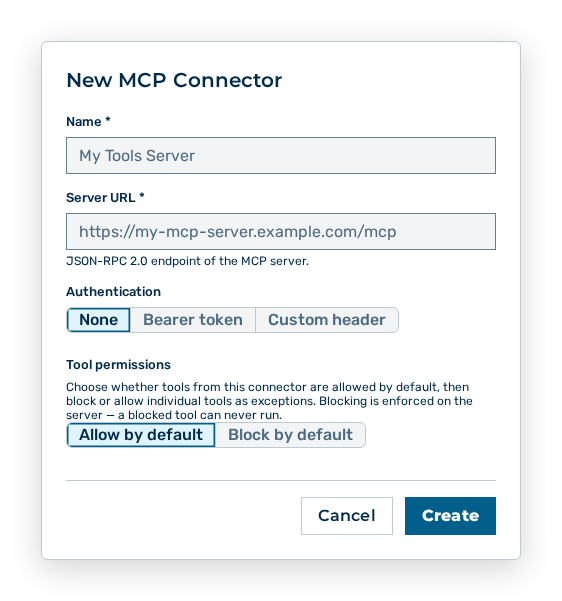
New MCP Connector dialog
- ► Enter the name and the address of the server.
- ► Store the credentials.
- ► Save the connector.
- ➔ The connector appears in the list, and its tools are available in the chat.
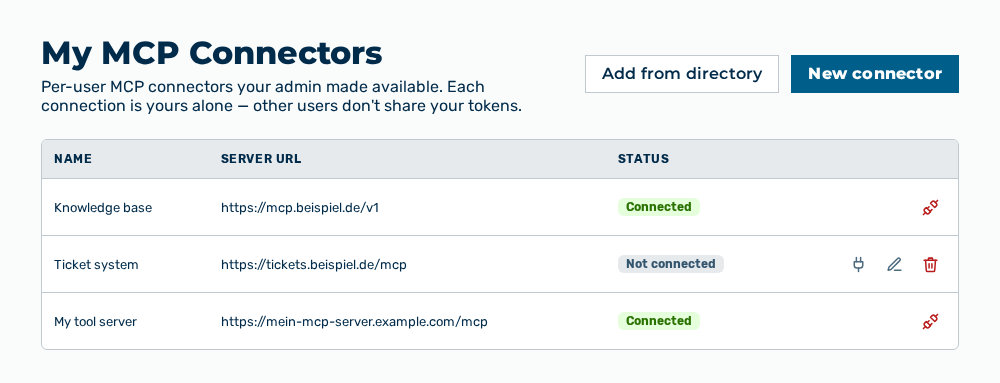
My MCP connectors view with the new connector
The Creating an MCP connector section describes which data the dialog expects.