Managing routing rules
For the requests that its conditions match, a routing rule overrides the default routing of the gateway. Thus, you can for example send all requests of one tenant to a less expensive model, or distribute the load of one model to several providers.
Creating a routing rule
The following requirements are met:
- ☑ Your user account has the Manage gateways and routing permission.
- ☑ The tenant has a gateway.
Proceed as follows to create a routing rule:
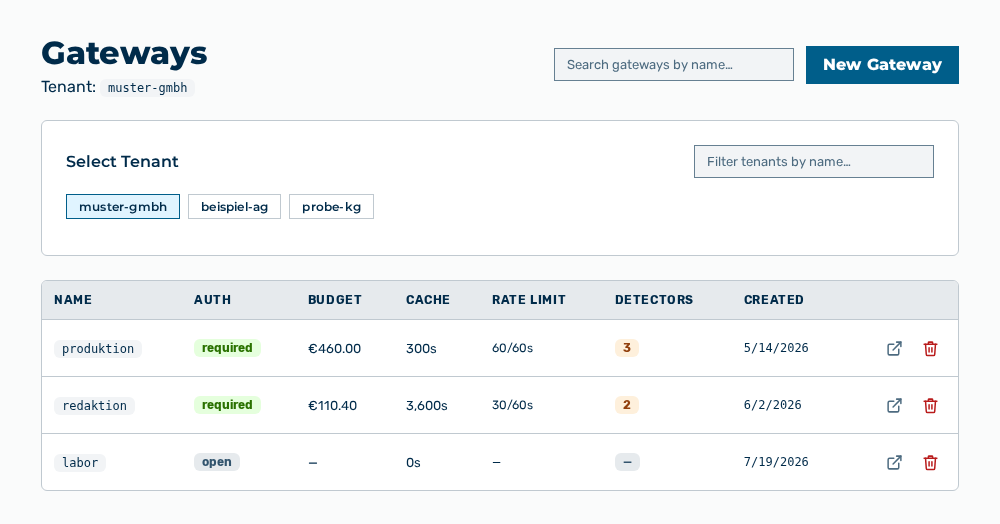
Gateways view
-
► In the Settings area, open the Gateways entry.
- ▷ On the start page, click on your name at the bottom of the navigation bar.
- ↳ The user menu opens.
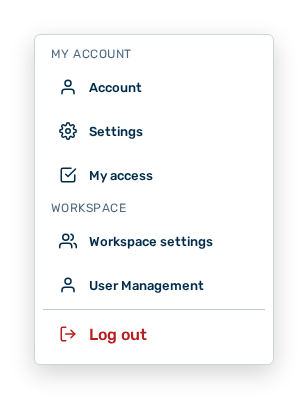
User menu
- ▷ In the My Account group, click on the Settings entry.
- ↳ The navigation bar shows the Settings area. The Gateways entry is open.
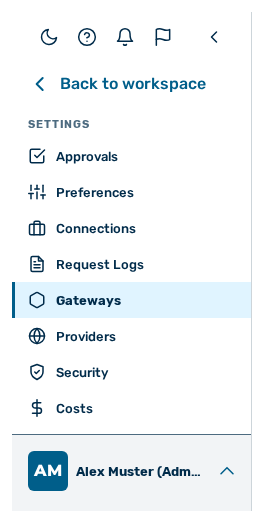
Navigation bar in the Settings area
-
► In the row of the gateway, click the Open → row action.
- ↳ The detail view of the gateway opens.
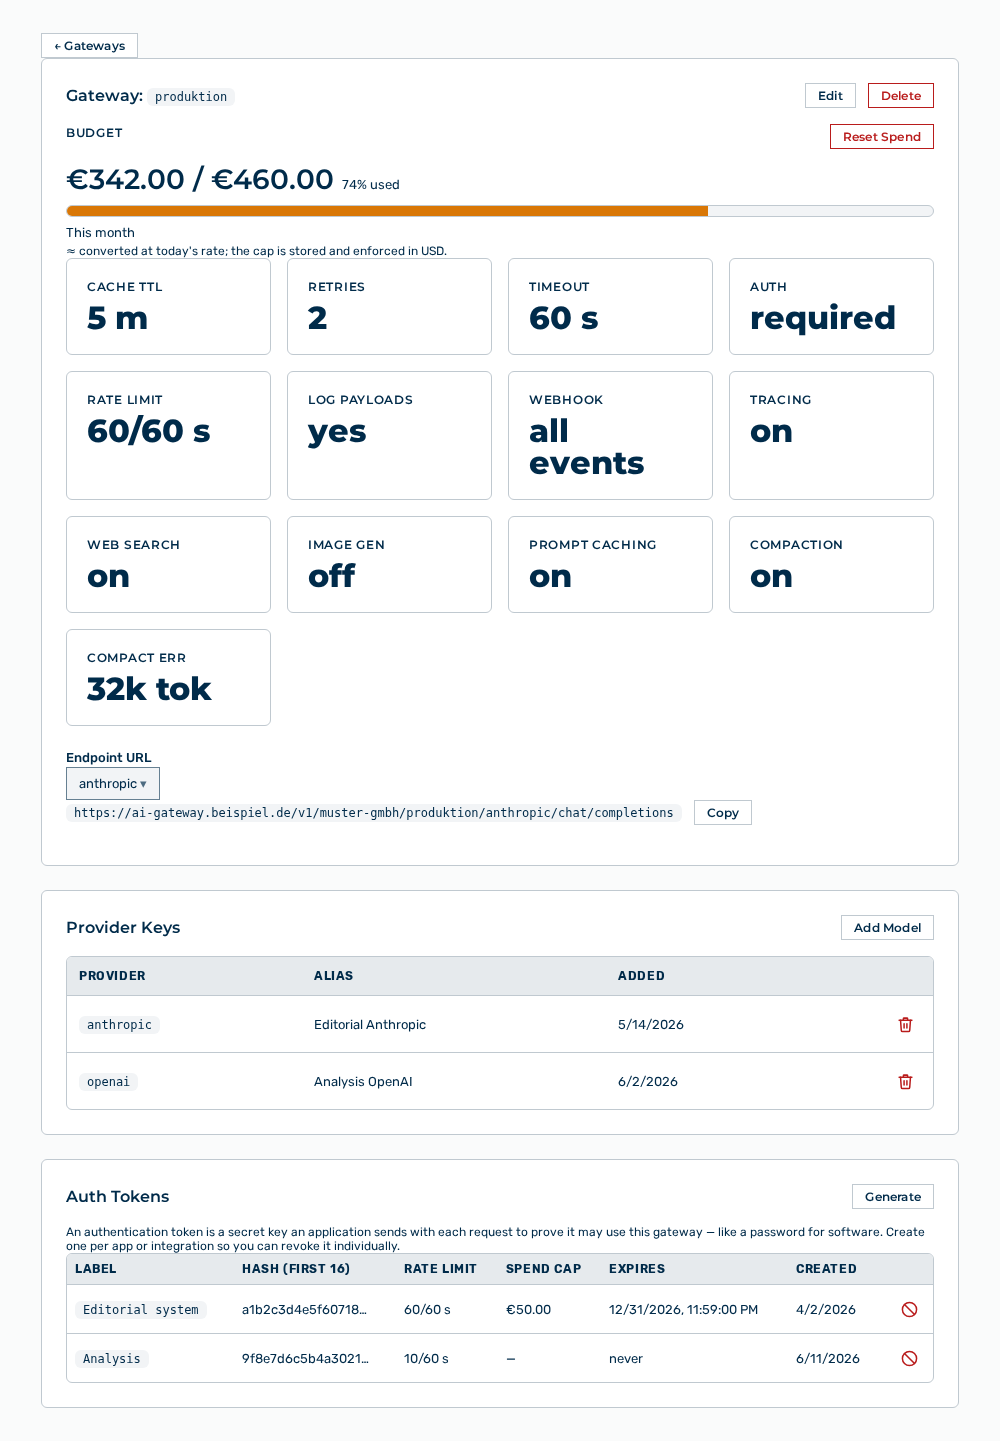
Detail view of a gateway
- ► In the Routing Rules area, click the New Rule button.
- ↳ The New Routing Rule dialog opens.
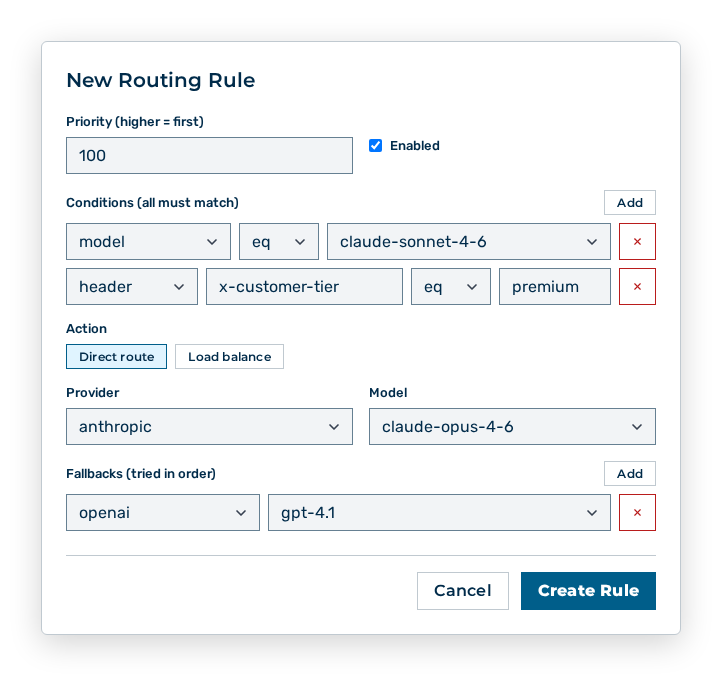
New Routing Rule dialog
- ► Specify the data of the rule.
- ► Click the Create Rule button.
- ➔ Myra AI Workspace creates the rule and shows it in the table of the area.
Detail view of a gateway
Data in the New Routing Rule dialog
New Routing Rule dialog
You specify the following data:
| Data | Description |
|---|---|
| Priority (higher = first) | Rank of the rule as an integer. The gateway examines the rules from the highest to the lowest priority and applies the first rule whose conditions match. The default is 0. |
| Enabled | If the check box is selected, the gateway examines the rule. If you clear it, the rule stays but has no effect. The check box is selected by default. |
| Conditions (all must match) | Conditions in which the rule applies. See the Conditions section. |
| Action | Target of the routing: Direct route sends the request to exactly one model, Load balance to several targets. See the Action: Direct route and Action: Load balance sections. |
Conditions
With the Add button, you add a condition. With the button with the cross, you remove it again. All conditions of a rule must match. While the rule has no condition, the dialog shows the No conditions = matches all requests. note.
Each condition has a field, an operator, and a value:
| Data | Description |
|---|---|
| Field | Object of the examination: model examines the model requested, provider the provider requested, tenant_id the identifier of the tenant, header an HTTP header of the request, and meta a metadata key of the request. |
| Name | Name of the header or of the metadata key, for example x-customer-tier or region. The field is shown only for the header and meta fields. |
| Operator | Comparison: eq matches on an exact match, neq on each difference, and prefix if the value matches at the start. |
| Value | Comparison value. For the model and provider fields, you select it from the catalog with the eq and neq operators. With the prefix operator and for the tenant_id, header, and meta fields, you enter it freely. |
Action: Direct route
You specify the following data for the Direct route action:
| Data | Description |
|---|---|
| Provider | Provider to which the gateway sends the request. The — any provider — entry keeps the provider of the request. |
| Model | Model to which the gateway sends the request. The — any model — entry keeps the model of the request. |
| Fallbacks (tried in order) | More pairs of a provider and a model. If the first target does not answer a request, the gateway tries the fallbacks in the sequence shown. With the Add button, you add a fallback. With the button with the cross, you remove it. |
Action: Load balance
You specify the following data for the Load balance action:
| Data | Description |
|---|---|
| Strategy | Distribution of the requests: Weighted random distributes them by the weight of the targets, Round robin in turn. |
| Sticky field (optional) | Field whose value keeps a target, for example meta.user_id. The gateway sends the same value to the same target for the duration of the sticky TTL. |
| Sticky TTL (s) | Duration of the connection to a target in seconds. The field is shown only if the sticky field has a value. The default is 3600 seconds. |
| Targets | Pairs of a provider and a model with their weight. With the Add target button, you add a target. With the button with the cross, you remove it. |
| Weight (0 = disabled) | Share of a target as an integer between 0 and 100. Adjacent to the field, the dialog shows the share calculated from it as a percentage. The weight 0 deactivates a target without removing it. The dialog then shows it as off. |
Note
The gateway tries the active targets that are not selected as fallbacks on a failure.
Editing a routing rule
The following requirements are met:
- ☑ Your user account has the Manage gateways and routing permission.
- ☑ The gateway has a minimum of one routing rule.
Proceed as follows to edit a routing rule:
Detail view of a gateway
- ► Open the detail view of the gateway.
- ▷ On the start page, click on your name at the bottom of the navigation bar.
- ▷ In the user menu, click on Settings.
- ▷ Open the Gateways group.
- ▷ Open the gateway with the Open → row action.
- ► In the Routing Rules area, click the Edit row action in the row of the rule.
- ↳ The Edit Rule dialog opens.
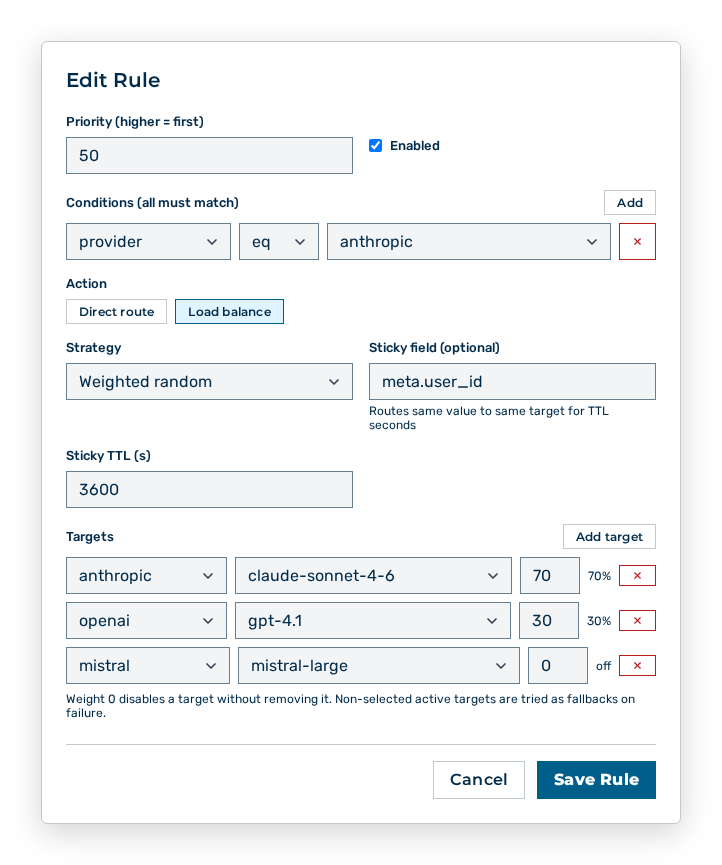
Edit Rule dialog
- ► Change the data of the rule.
- ► Click the Save Rule button.
- ➔ Myra AI Workspace applies the changes.
Gateway detail view
Note
The Edit Rule dialog has the same data as the New Routing Rule dialog. See the Data in the New Routing Rule dialog section. The changes apply from the next request. Requests in progress keep the target that was found for them.
Changing the sequence of the routing rules
The table of the area shows the rules in the sequence in which the gateway examines them.
The following requirements are met:
- ☑ Your user account has the Manage gateways and routing permission.
- ☑ The gateway has a minimum of two routing rules.
Proceed as follows to change the sequence:
Detail view of a gateway
- ► Open the detail view of the gateway.
- ▷ On the start page, click on your name at the bottom of the navigation bar.
- ▷ In the user menu, click on Settings.
- ▷ Open the Gateways group.
- ▷ Open the gateway with the Open → row action.
- ► In the Routing Rules area, click the Move up (evaluate earlier) or Move down (evaluate later) row action in the row of the rule.
- ➔ Myra AI Workspace exchanges the rule with its adjacent rule and writes the priorities again.
Gateway detail view
Note
The Move up (evaluate earlier) row action is unavailable in the top row, the Move down (evaluate later) row action in the bottom row. While Myra AI Workspace writes the new sequence, both row actions are unavailable in all rows.
Deleting a routing rule
The following requirements are met:
- ☑ Your user account has the Manage gateways and routing permission.
Proceed as follows to delete a routing rule:
Detail view of a gateway
- ► Open the detail view of the gateway.
- ▷ On the start page, click on your name at the bottom of the navigation bar.
- ▷ In the user menu, click on Settings.
- ▷ Open the Gateways group.
- ▷ Open the gateway with the Open → row action.
- ► In the Routing Rules area, click the Del row action in the row of the rule.
- ↳ The Delete this routing rule? confirmation prompt opens.
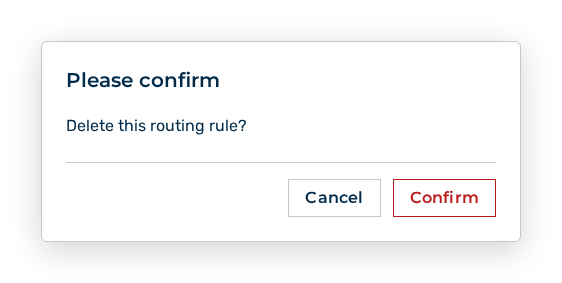
Confirmation prompt before the deletion of a routing rule
- ► Confirm the prompt.
- ➔ Myra AI Workspace deletes the rule.
Gateway detail view
Effects of the deletion
The deletion has the following effects:
| Object | Effect |
|---|---|
| Requests | The requests that the rule matched again follow the default routing of the gateway or the subsequent rule whose conditions match. |
| Other rules | The other rules keep their priority and their sequence. |
| Provider keys | The keys of the gateway stay. A rule refers only to providers and models. A rule has no credentials of its own. |
| Request log | The requests recorded stay. |
Note
A rule that you only want to suspend temporarily is better cleared with the Enabled check box than deleted. The data then stays.