Step 2: Create a gateway
The gateway is the endpoint to which the applications send their requests. The gateway sets which models are available, which budget applies, and which examinations the content goes through.
The following requirements are met:
- ☑ Step 1 is complete, see Create a tenant.
Proceed as follows to create a gateway:
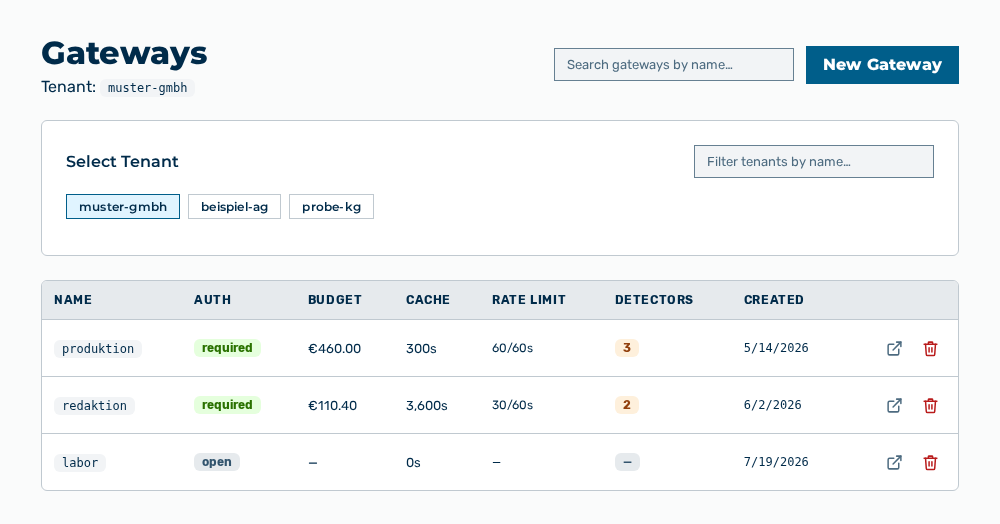
Gateways view
-
► In the Settings area, open the Gateways entry.
- ▷ On the start page, click on your name at the bottom of the navigation bar.
- ↳ The user menu opens.
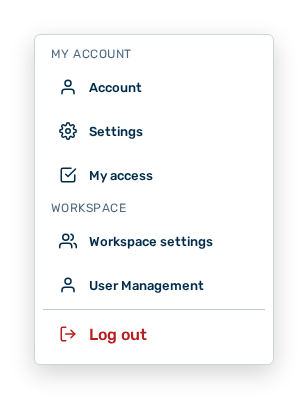
User menu
- ▷ In the My Account group, click on the Settings entry.
- ↳ The navigation bar shows the Settings area. The Gateways entry is open.
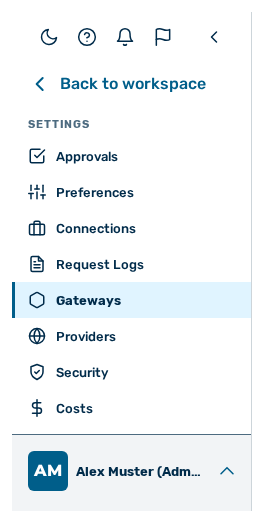
Navigation bar in the Settings area
-
► In the Select Tenant selection list, select the tenant from step 1.
- ► Click on the New Gateway button.
- ↳ The New Gateway dialog opens with the Identity & budget section.
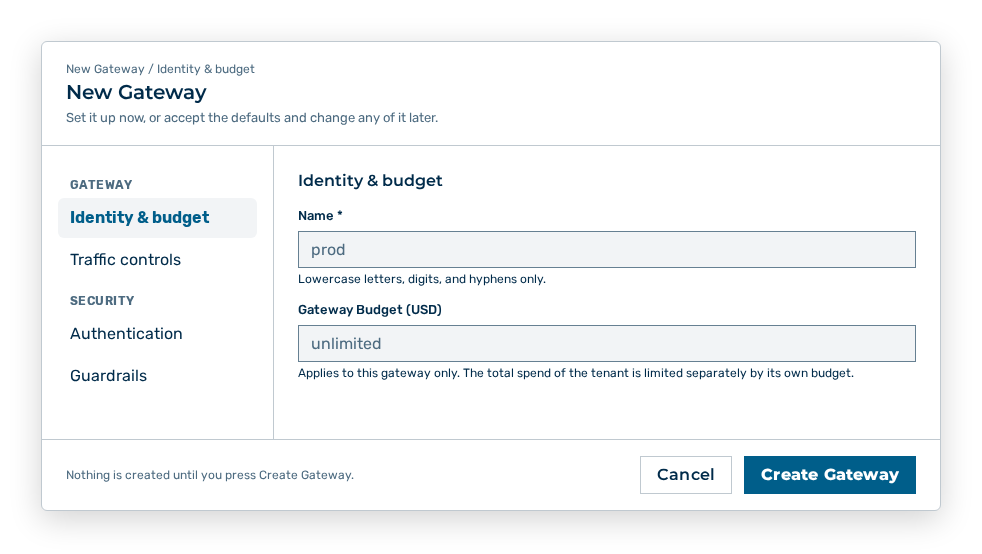
New Gateway dialog
- ► In the Identity & budget section, enter an identifier made of lowercase letters, numbers, and hyphens in the Name field, for example prod.
- ► In the navigation bar on the left, open the Authentication section.
- ↳ The Authentication section opens.
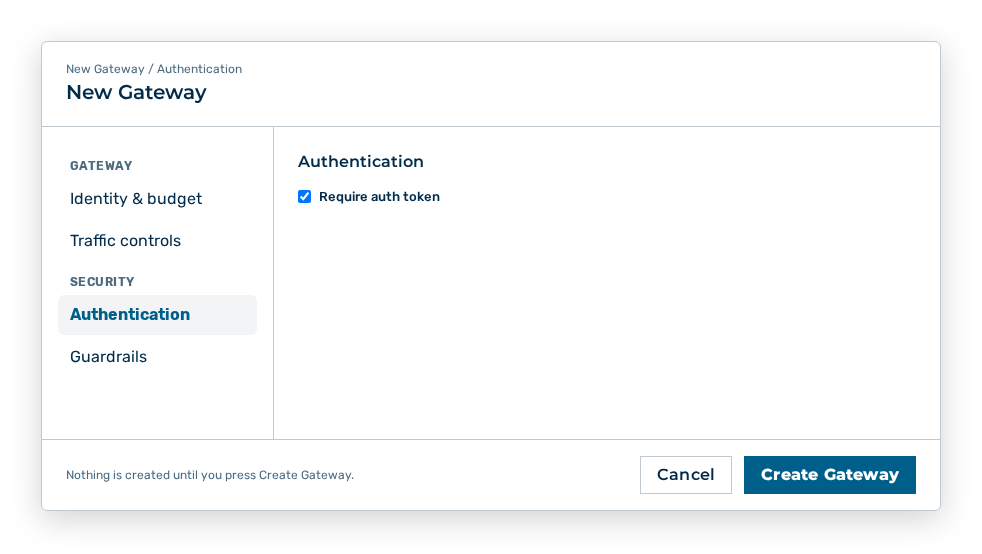
Authentication section
- ► Set the Require auth token check box so that only applications with a token reach the gateway.
- ► Click on the Create Gateway button.
- ➔ The Gateways view shows the new gateway.
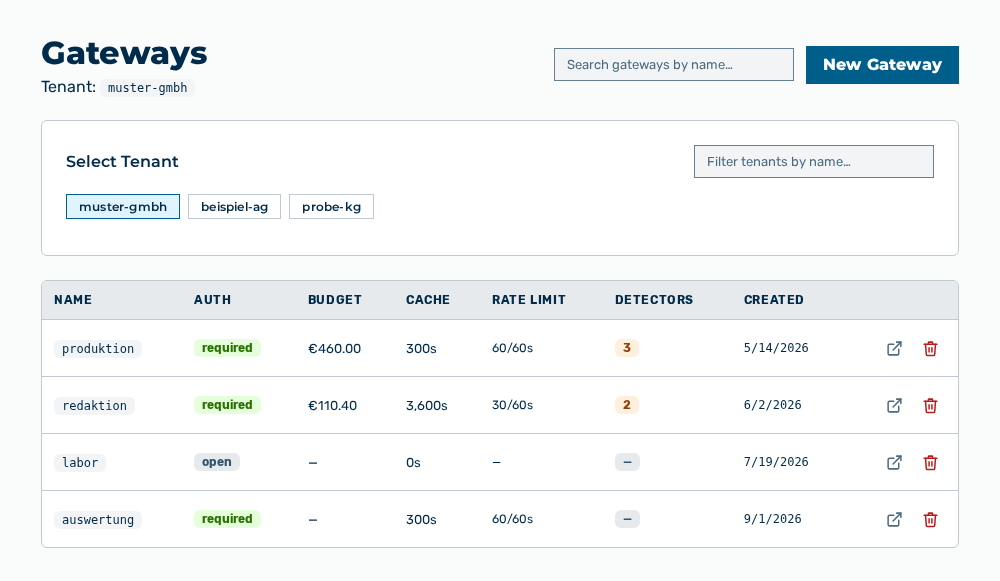
Gateways view with the new gateway
The Creating a gateway section describes which data the dialog expects and how the data takes effect.