Step 8: Create the groups
A group collects user accounts. With a group, you give the access to agents, projects, and connectors together instead of giving it to each person.
The following requirements are met:
- ☑ Step 7 is complete, see Create the user accounts.
Proceed as follows to create a group:
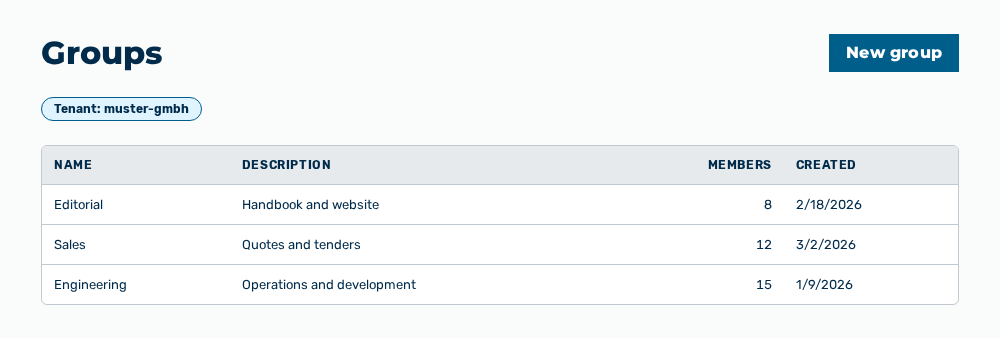
Groups view
-
► In the User Management area, open the Groups tab.
- ▷ On the start page, click on your name at the bottom of the navigation bar.
- ↳ The user menu opens.
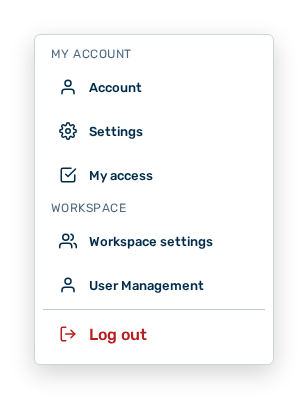
User menu
- ▷ In the Workspace group, click on the User Management entry.
- ↳ The navigation bar shows the User Management area. The Members tab is open.
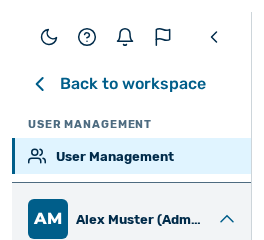
Navigation bar in the User Management area
- ▷ Open the Groups tab.
- ► Click on the New group button.
- ↳ The New group dialog opens.
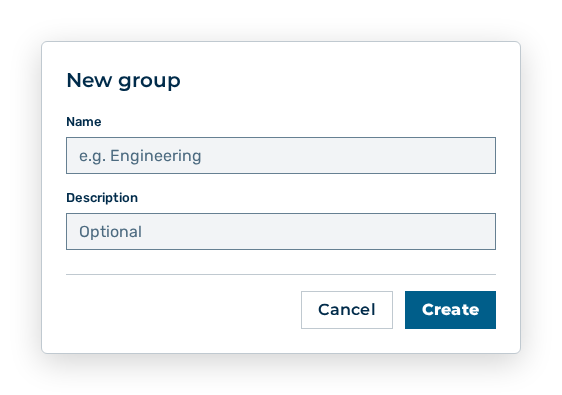
New group dialog
- ► Enter the name and click on the Create button.
- ► Add the user accounts from step 7 to the group.
- ➔ The group is available for selection when you share agents, projects, and connectors.
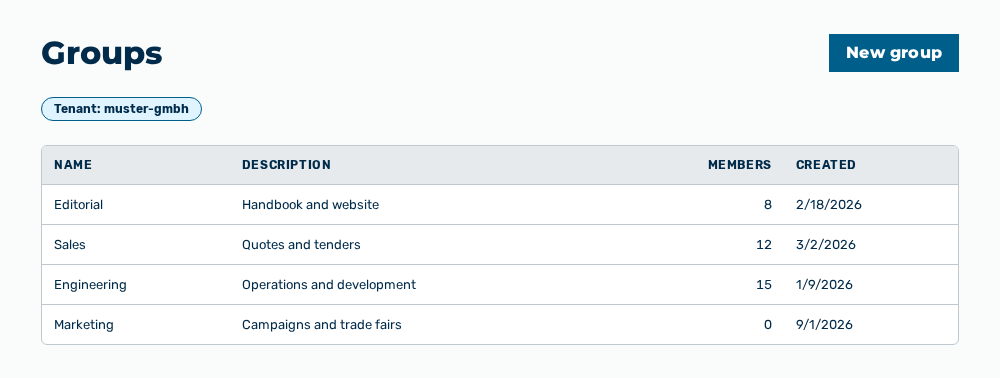
Groups view with the new group
The Creating a group section describes which data the dialog expects.