Step 1: Create a tenant
A tenant keeps the data, the users, and the billing of an organization separate from all others. Each gateway belongs to exactly one tenant.
Proceed as follows to create a tenant:
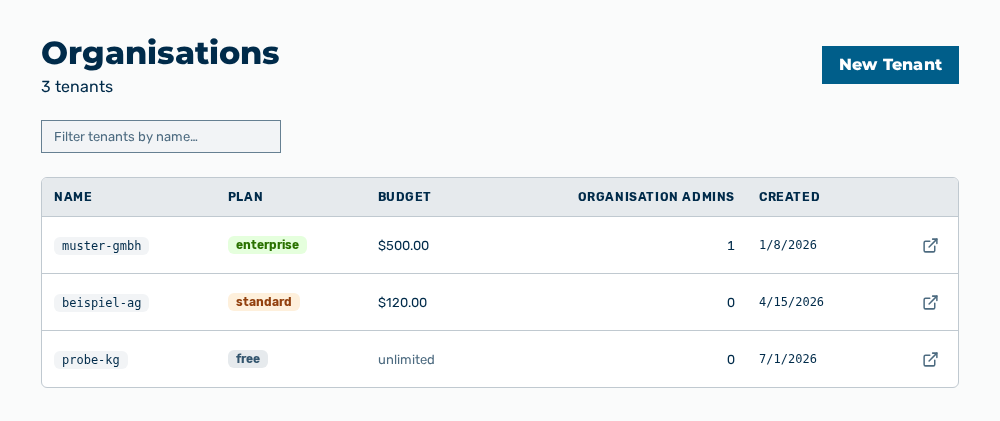
Organisations view
-
► In the User Management area, open the Organisations tab.
- ▷ On the start page, click on your name at the bottom of the navigation bar.
- ↳ The user menu opens.
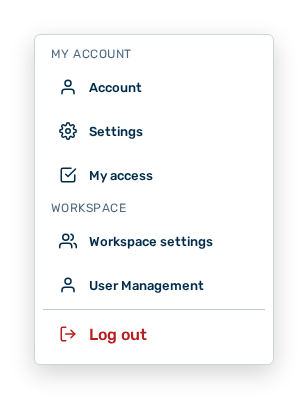
User menu
- ▷ In the Workspace group, click on the User Management entry.
- ↳ The navigation bar shows the User Management area. The Members tab is open.
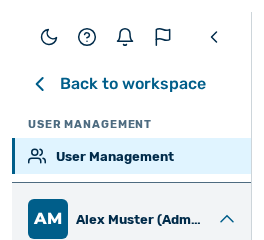
Navigation bar in the User Management area
- ▷ Open the Organisations tab.
- ► Click on the New Tenant button.
- ↳ The New Tenant dialog opens.
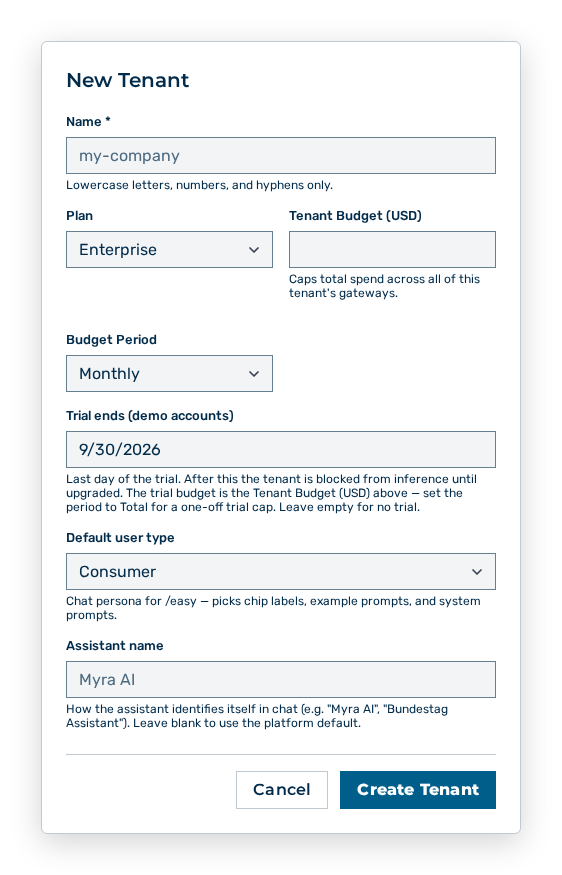
New Tenant dialog
- ► Enter the name, select the plan.
- ► Set the budget of the tenant.
- ► Click on the Create Tenant button.
- ➔ The tenant appears in the list.
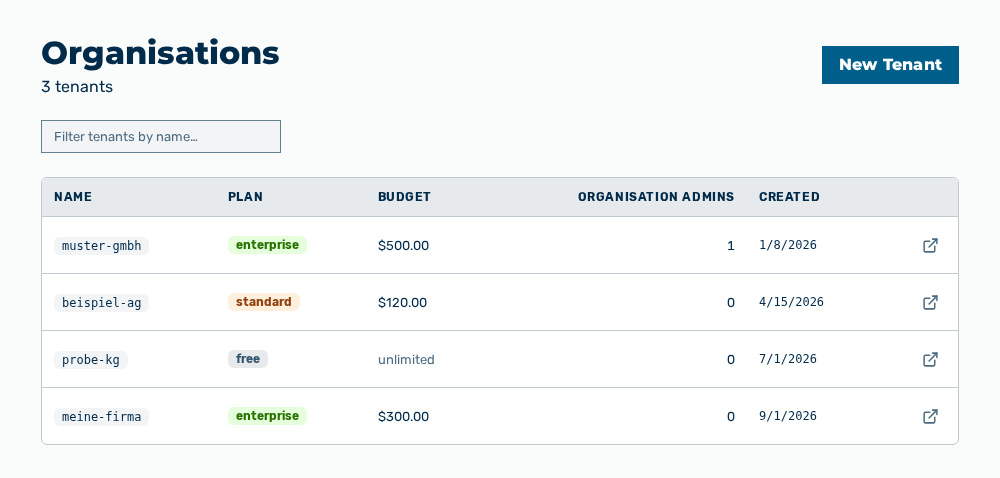
Organizations view with the new tenant
The Creating a tenant section describes which data the dialog expects and how the data takes effect.