Managing groups
A group holds users together to give them the access to agents, projects, and connectors as one.
Creating a group
The following requirements are met:
- ☑ Your user account has the Manage groups and memberships permission.
Proceed as follows to create a group:
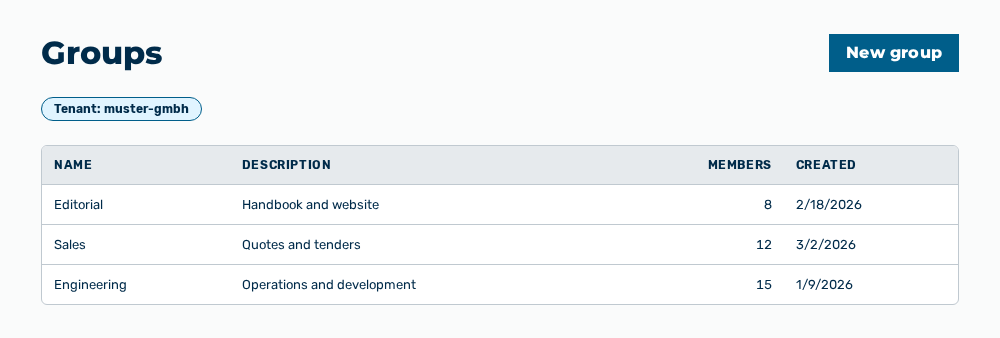
Groups view
-
► In the User Management area, open the Groups tab.
- ▷ On the start page, click on your name at the bottom of the navigation bar.
- ↳ The user menu opens.
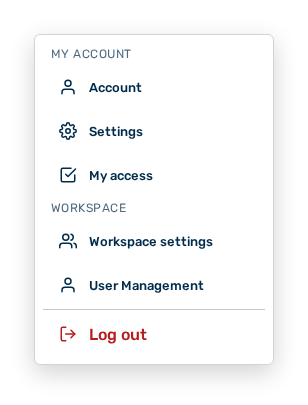
User menu
- ▷ In the Workspace group, click on the User Management entry.
- ↳ The navigation bar shows the User Management area. The Members tab is open.
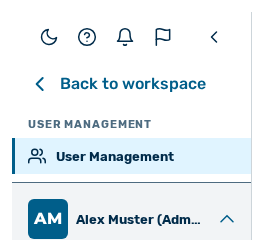
Navigation bar in the User Management area
- ▷ Open the Groups tab.
- ► Click on the New group button.
- ↳ The New group dialog opens.
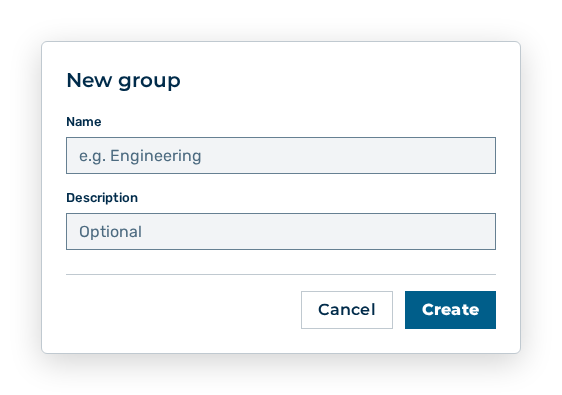
New group dialog
- ► Enter the name of the group.
- ► Click on the Create button.
- ➔ Myra AI Workspace creates the group.
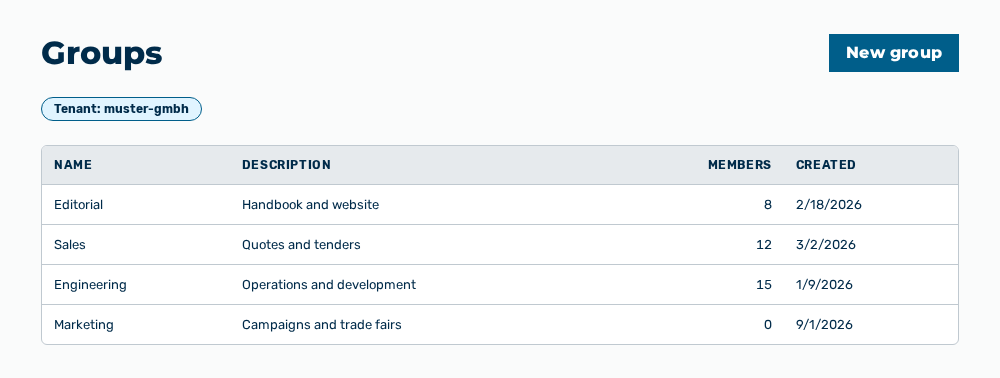
Groups view with the new group
Data in the New group dialog
New group dialog
You set the following data at creation:
| Item | Description |
|---|---|
| Name | Name of the group, for example Engineering. The name appears in the Name column of the list. The item is mandatory. |
| Description | Short description of the group. The description appears in the Description column of the list. The item is optional. |
The following options are available in the dialog:
| Option | Description |
|---|---|
| Create button | Creates the group. During the creation, the button shows Saving…. |
| Cancel button | Closes the dialog without creating the group. |
Note
If the name field stays empty, the dialog shows Name is required. A new group holds neither members nor grants. You assign both in the dialog of the group.
Editing a group
Proceed as follows to edit a group:
Groups view
-
► In the User Management area, open the Groups tab.
- ▷ On the start page, click on your name at the bottom of the navigation bar.
- ↳ The user menu opens.
User menu
- ▷ In the Workspace group, click on the User Management entry.
- ↳ The navigation bar shows the User Management area. The Members tab is open.
Navigation bar in the User Management area
- ▷ Open the Groups tab.
- ► Open the group.
- ↳ The dialog with the name of the group opens.
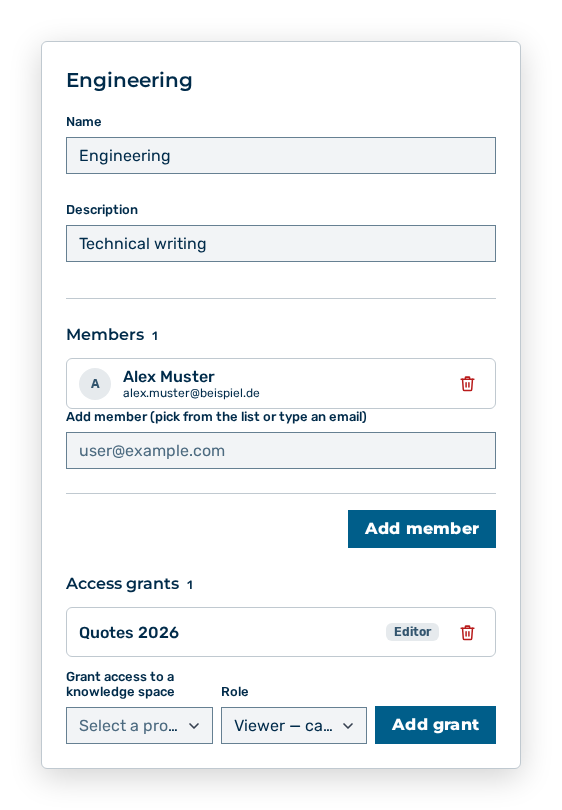
Dialog of a group
- ► Click on the Add member button.
- ► Select a user account from the list, or enter its email address.
- ► Click on the Add grant button.
- ► Select the object to be shared.
- ➔ Myra AI Workspace shows the addition with
added to the group.
Dialog of a group
Data in the dialog of the group
Dialog of a group
You change the following data in the dialog:
| Item | Effect of the change |
|---|---|
| Name | Changes the name of the group in the list and in every grant. |
| Description | Changes the short description of the group in the list. |
| Members area | Takes users in or removes them. A user taken in receives every access that the group grants. A user removed loses it. |
| Access grants area | Grants or revokes the access to a project. The grant applies to all members of the group at once. |
The following options are available in the dialog:
| Option | Description |
|---|---|
| Save button | Applies the changed data. During the saving, the button shows Saving…. |
| Cancel button | Closes the dialog without applying the changes. |
Deleting a group
Proceed as follows to delete a group:
Groups view
-
► In the User Management area, open the Groups tab.
- ▷ On the start page, click on your name at the bottom of the navigation bar.
- ↳ The user menu opens.
User menu
- ▷ In the Workspace group, click on the User Management entry.
- ↳ The navigation bar shows the User Management area. The Members tab is open.
Navigation bar in the User Management area
- ▷ Open the Groups tab.
- ► Delete the group.
- ↳ The Delete the group "
"? Its memberships and grants are removed. query opens.
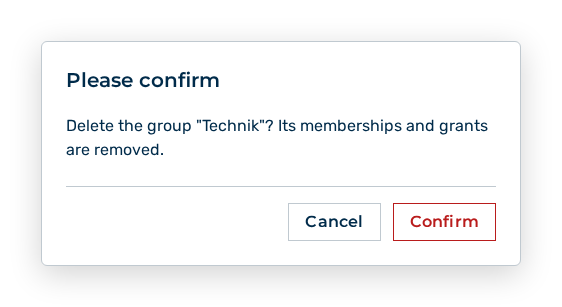
Delete group query
- ► Confirm the query.
- ➔ Myra AI Workspace deletes the group with its memberships and grants.
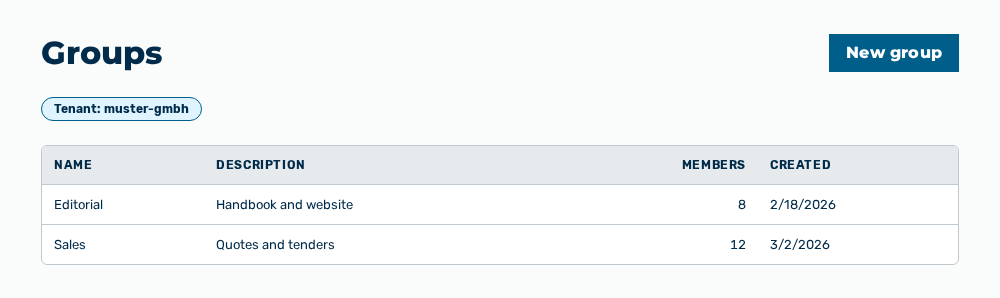
Groups view without the group
Effects of the deletion
The deletion has the following effects:
| Object | Effect |
|---|---|
| Group | Myra AI Workspace removes the group from the list. |
| Memberships | Myra AI Workspace removes all memberships of the group. The user accounts themselves remain. |
| Access grants | Myra AI Workspace revokes every access that the group granted. The members lose it unless they hold it by another route. |
Note
If the group cannot be deleted, it remains in the list.
Note
The User Management area does not appear for the Finance role.