Getting access
Myra AI Workspace does not use a password. You request a six-digit one-time code and receive it by email.
The following requirements are met:
- ☑ Your user account exists in Myra AI Workspace.
- ☑ You have access to the mailbox of the registered email address.
Proceed as follows to sign in to Myra AI Workspace:
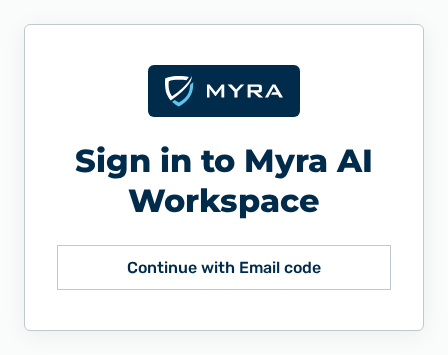
Sign-in
- ► Click on the Continue with Email code button.
- ↳ The prompt for the email address appears.
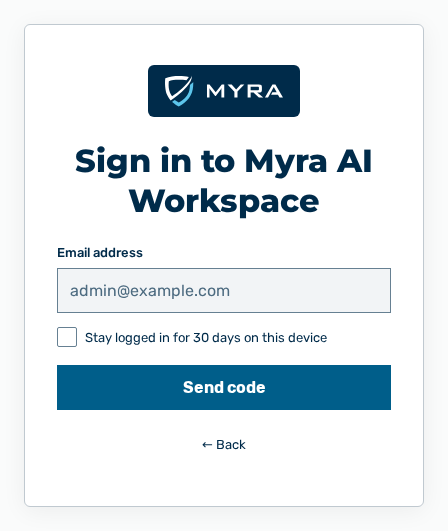
Sign-in with the email address
- ► Enter the email address of your user account.
- ► If necessary, select Stay logged in for 30 days on this device.
- ► Click on the Send code button.
- ↳ The prompt for the one-time code appears.
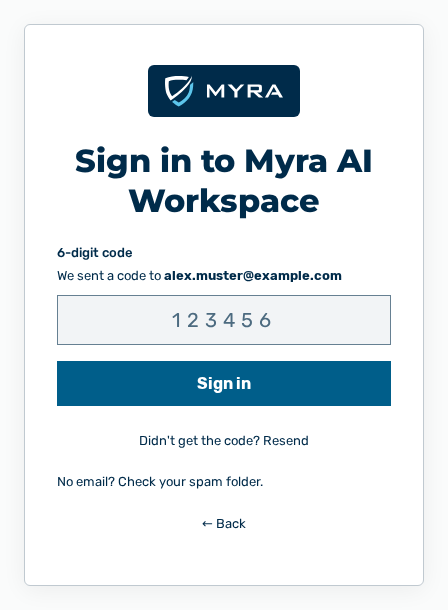
Sign-in with the one-time code
- ► Enter the code from the email.
- ► Click on the Sign in button.
- ➔ Myra AI Workspace starts with the navigation bar of your role.
The sign-in asks for two entries:
- ■ The Email address text field takes the address of your user account.
- ■ The 6-digit code text field takes the one-time code that you received.
The Stay logged in for 30 days on this device checkbox keeps the session open on that device for 30 days.
Note
If your tenant has an identity provider, the Continue with SSO button also appears. The or sign in with a one-time code hint stands below it. Sign-in through OIDC or SAML 2.0 only signs in existing user accounts. The sign-in does not create a new user account.
Note
If a one-time code has expired, the sign-in shows the That code is incorrect or has expired. Please request a new one. message. In that case, click on the Didn't get the code? Resend link. The link becomes available again 30 seconds after the send. Until then it shows the remaining time.
After the first sign-in, Myra AI Workspace shows two dialogs that each appear only once:
- ■ note about MYRA AI
- ■ walkthrough of the interface
Which of the two appears first depends on the view that your role opens after the sign-in. The Member and Viewer roles land in the chat and see the walkthrough there first. The other roles land in the dashboard and acknowledge the note there first.
Acknowledging the note about MYRA AI
The A note about MYRA AI dialog explains that a language model generates the responses, how you report a response, and where your entries go. The dialog appears when you first open a view outside the chat and cannot be bypassed. The Esc key and a click next to the dialog do not close it, and the dialog has no close button.
Proceed as follows to acknowledge the note:
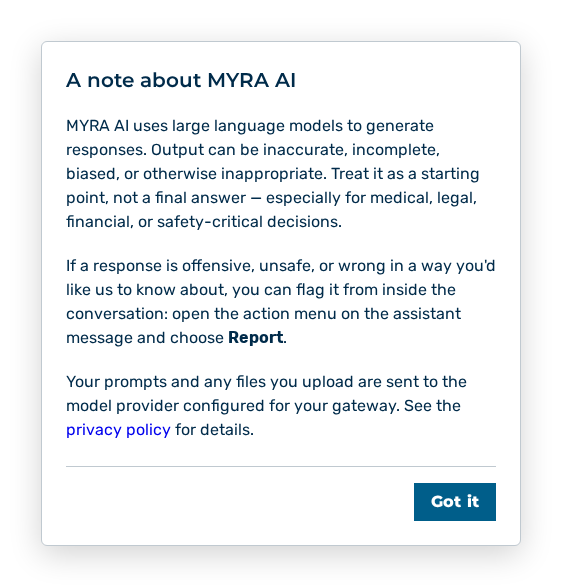
A note about MYRA AI dialog
- ► Read the note.
- ► Click on the Got it button.
- ➔ The dialog closes and does not appear again on this device.
The dialog states three points:
| Paragraph | Statement |
|---|---|
| Generated responses | MYRA AI uses large language models. Output can be inaccurate, incomplete, biased, or otherwise inappropriate. Treat it as a starting point, not a final answer — especially for medical, legal, financial, or safety-critical decisions. |
| Report of a response | You report an offensive, unsafe, or wrong response directly in the conversation with the Report action on the assistant message. |
| Processing of your entries | Your entries and all uploaded files go to the model provider that is configured for your gateway. The privacy policy link opens the policy in a new tab. |
Note
Myra AI Workspace stores the acknowledgement in the browser of the device you use, not in the user account. After the deletion of the browser data, and in a different browser or on a different device, the note appears again. The note does not appear in the chat.
Walkthrough of the interface
A walkthrough leads through the most important views. The walkthrough appears once per user account, for example in the chat or in the dashboard. While the note about MYRA AI is open, the walkthrough waits.
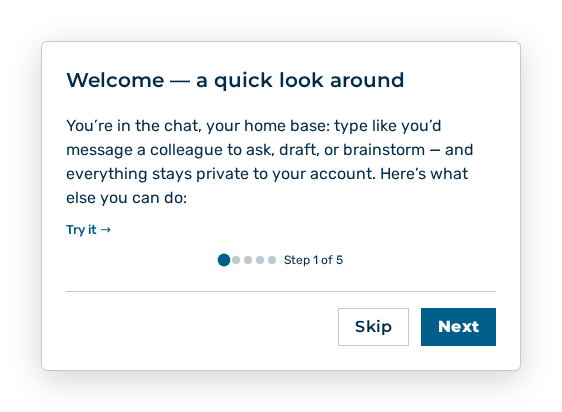
Walkthrough, first step
- ► Read the text of the step.
- ► Click on the Next button until the last step appears.
- ► Click on the Get started button.
- ➔ The walkthrough closes and does not appear again.
The walkthrough contains the following controls:
| Element | Description |
|---|---|
| Try it → | Opens the view of the step and ends the walkthrough. The link is missing when you are already in that view. |
| Dots | Show the number of steps. The filled dot is the current step. A click on a dot goes directly to that step. |
| Step X of Y | States the current step and the number of steps. |
| Skip | Ends the walkthrough immediately. |
| Back | Goes to the previous step. The button is missing in the first step. |
| Next | Goes to the next step. |
| Get started | Ends the walkthrough. In the last step the button replaces the Next button. |
Which steps the walkthrough shows depends on your role:
| Step | Title | View | Roles |
|---|---|---|---|
| 1 | Welcome — a quick look around | Chat | all roles with a walkthrough |
| 2 | Organize with Projects | Projects | all roles with a walkthrough |
| 3 | Prompt Library | Prompts | Administrator and Tenant Administrator |
| 4 | You're in control of your data | My PII configuration | all roles with a walkthrough |
| 5 | Bring your team | Members | Administrator and Tenant Administrator |
The Administrator and Tenant Administrator roles therefore go through five steps, the other roles through three.
Note
Myra AI Workspace stores the completed walkthrough in the user account. The Skip and Get started buttons and the Try it → link complete it in the same way. There is no way to start it again. The Demo User role only reaches the chat and receives neither the note nor the walkthrough.
Signing out
The menu under your name at the bottom of the navigation bar contains the Log out entry.
Proceed as follows to log out of Myra AI Workspace:
- ► On the start page, click on your name at the bottom of the navigation bar.
- ↳ The user menu opens.
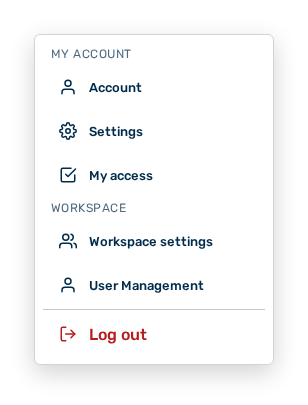
User menu
User menu
- ► Click on the Log out entry.
- ➔ Myra AI Workspace ends the session and shows the sign-in.
Note
The user menu of the Finance role contains the Settings, Account, and Log out entries. The User Management entry does not appear for it.