Step 2: Enable a model
Without an enabled model, the gateway refuses every request. Together with the model, you store the key with which Myra AI Workspace calls the provider.
The following requirements are met:
- ☑ Step 1 is complete, see Create a gateway.
Proceed as follows to enable a model:
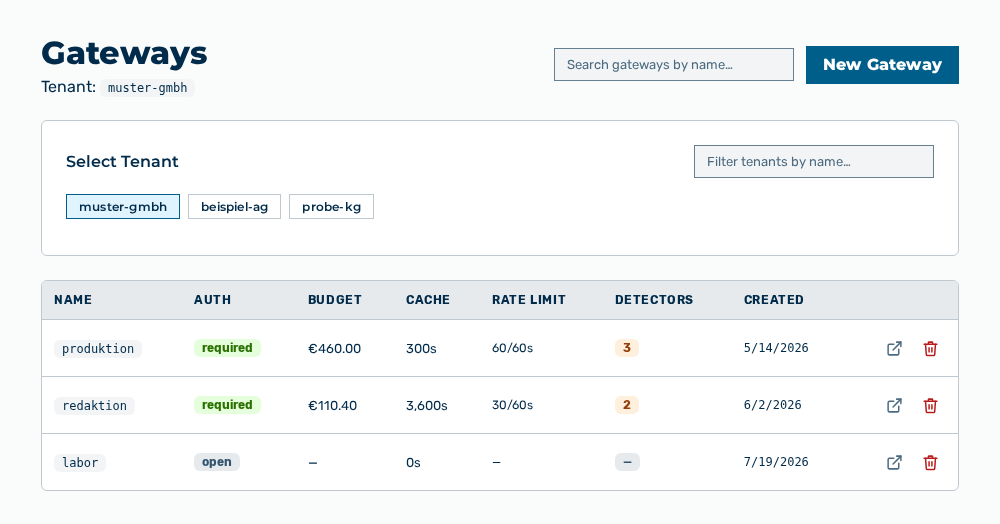
Gateways view
-
► In the Settings area, open the Gateways entry.
- ▷ On the start page, click on your name at the bottom of the navigation bar.
- ↳ The user menu opens.
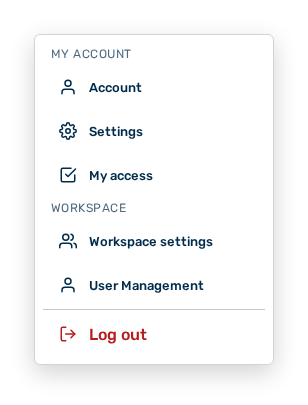
User menu
- ▷ In the My Account group, click on the Settings entry.
- ↳ The navigation bar shows the Settings area. The Gateways entry is open.
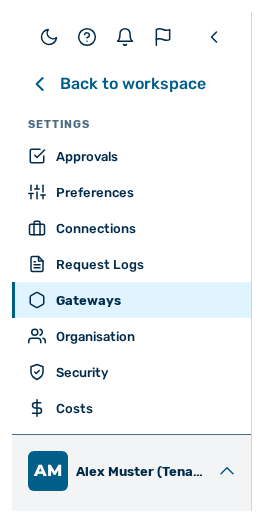
Navigation bar in the Settings area
-
► Open the gateway from step 1 with the Open → row action.
- ↳ The detail view of the gateway opens.
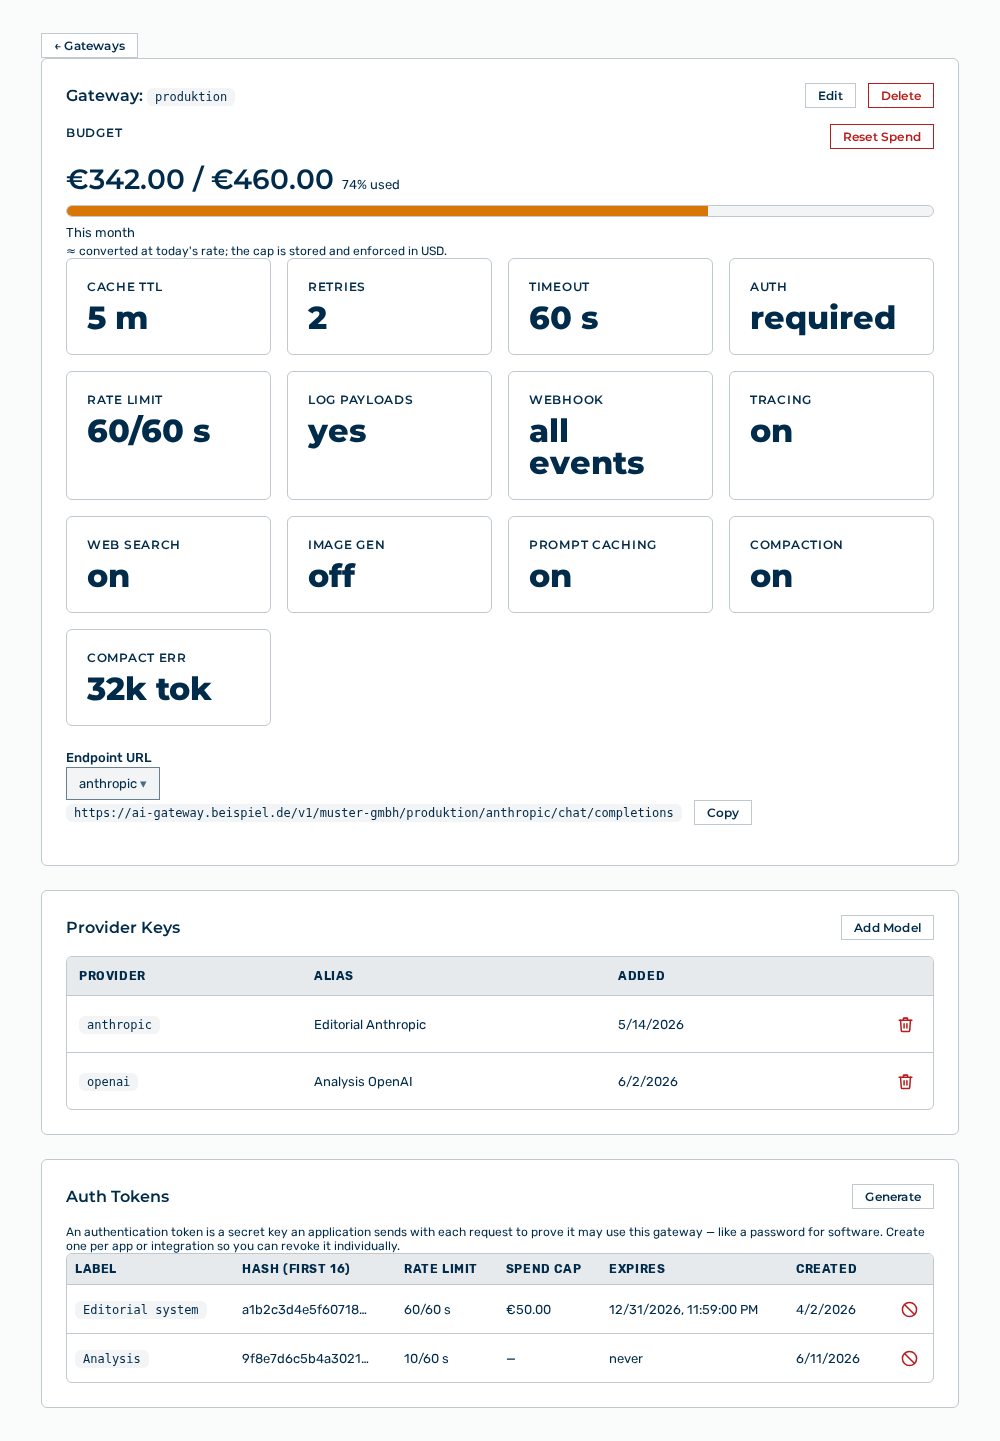
Detail view of a gateway
- ► In the Provider Keys section, click on the Add Model button.
- ↳ The Add Model dialog opens.
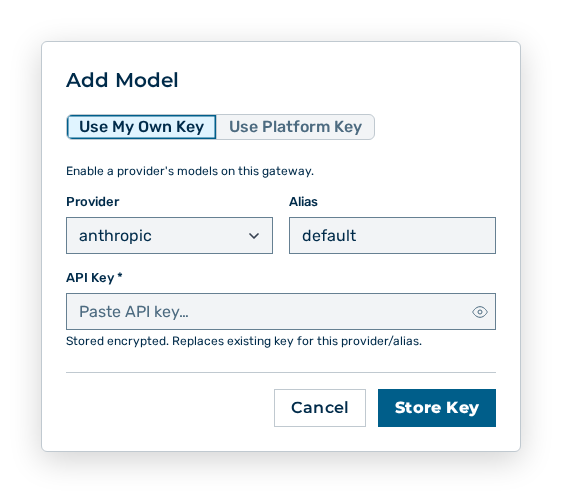
Add Model dialog
- ► If you have your own contract with the provider, select the method Use My Own Key, otherwise the method Use Platform Key.
- ► Select the Provider.
- ► For your own key, enter the API Key.
- ► Click on the Enable button at the model you want.
- ➔ Myra AI Workspace shows Key stored and encrypted successfully.
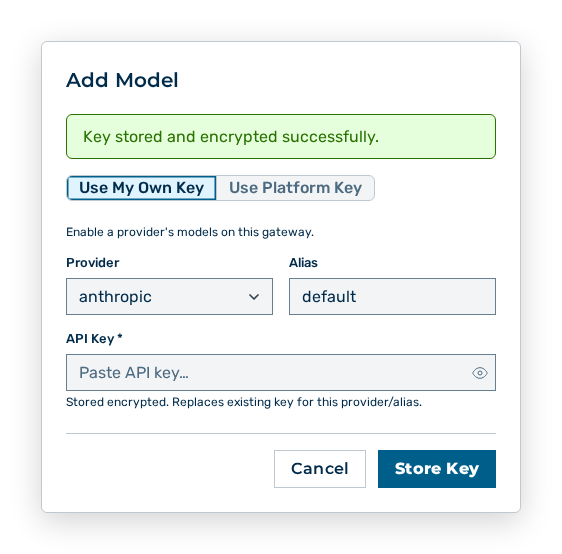
Add model dialog with the message
Do the step again for each further model. The Enabling a model on a gateway section describes which data the dialog expects.
Note
After this step, Myra AI Workspace accepts requests. Steps 3 to 8 are not mandatory for the operation, but a production system needs them.